9th Jul 2025
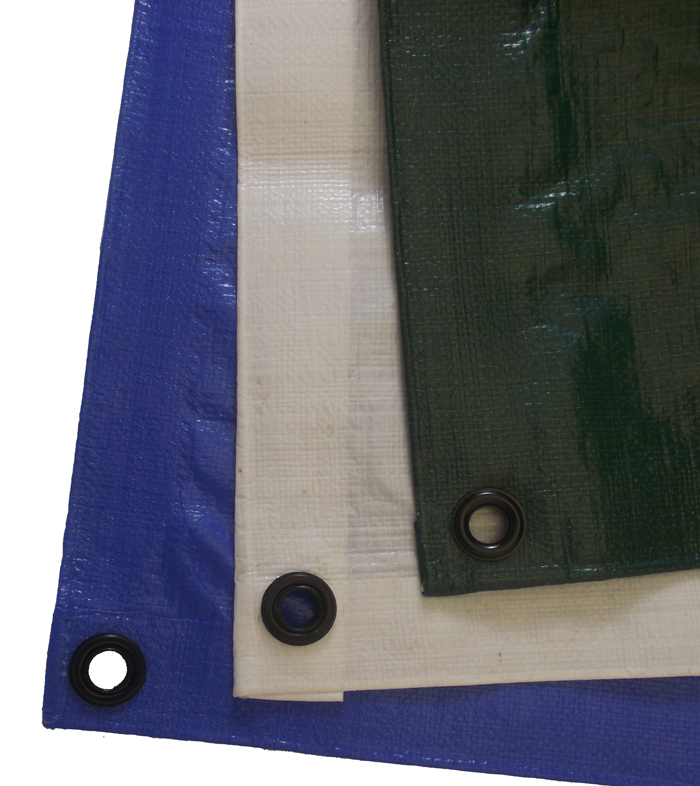
You’d be surprised by the number of phone calls we receive in summer asking if our tarpaulins are suitable for use as a slip and slide – and the short answer is yes: our tarpaulins are the perfect material for building a slip and slide.
A slip and slide is the perfect summer activity for school clubs, team building or just fun with friends. But you’d be wrong to think it’s as simple as laying a tarp on the ground, getting the hose out and diving down a hill – building the perfect slip and slide takes a little bit of planning.
Read the step-by-step guide below and start building your very own slip and slide today.
What you’ll need to build a slip and slide
Here’s what you’ll need to build the perfect summer’s day slip and slide:
- An open grass area, preferably on a slight slope
- Stakes or tent pegs
- Duct tape or tarp tape
- Skin-safe soap or body wash
- Hose or garden sprinkler and a water source
- 3x pool noodles or similar padded supports
- A large tarpaulin
Tip: For an epic summer slip and slide, you’ll need a heavy-duty, long tarpaulin – our 30m x 5m tarpaulin is perfect. We also suggest using a clear tarp to make sure the grass underneath your slip and slide survives.
How to build a slip and slide
Step one: Pick and prepare your location
First, choose an open grassy space – preferably soft and springy, with a slight slope. Once you’ve picked your spot, clear the ground of any rocks, sticks or anything else sharp that could cause injury.
Step two: Lay your tarpaulin for your slip and slide
Roll out your tarpaulin on the ground. If you’ve found a slope, make sure the tarpaulin is laid lengthways down the slope.
Step three: Secure the edges
Secure the edges, as well as the top and bottom of your tarpaulin, using stakes. Make sure the stakes are pressed firmly into the ground to stop them from becoming a hazard to your slidees. You can also cover them with spare bits of foam or padding for extra safety.
Tip: if your slip and slide tarp is a little small, you can use duct or tarp tape to attach multiple tarpaulins together.
Step four: Building an endzone
Take your pool noodles – you’ll need at least three – and place one at the bottom and one along each side of the tarpaulin. Stake them into the ground to create a soft barrier that helps catch the water and safely stop anyone sliding off the end.
Step five: Add your soapy solution
Pour some of your soap solution evenly across the surface of the tarp. This will make it very slippery, so to be on the safe side, use it sparingly until you’ve tested your slip and slide.
Slide six: Add water
Use your hose or sprinkler to soak the slide, but don’t turn it off – let the water run continuously to keep the slide slick.
Step seven: Test and enjoy
Finally, it’s time to test it. Choose your most sensible friend or companion to try the slide – slowly. Once you’re happy with the setup and confident it’s safe, you’re all set to enjoy your summer slip and slide.
Safety first
A slip and slide is the perfect setup for fun in the summer sun – but above all, you should put safety first:
- Always supervise any children on the slip and slide
- Don’t dive headfirst, try sliding feet first instead
- Drive stakes into the ground or cover them with padding
- Make sure your soap is skin safe
What are you waiting for?
So, what are you waiting for? Find the perfect setting, grab a tarp and start building your very own slip and slide this summer.
At Tarpaulins Direct, we help people find the right tarp every single day. Whether you’re covering a beloved boat or building a giant slip and slide, if you’re after garden tarpaulin or accessories, we’re always here when you need us. If you’d like advice on choosing the right tarpaulin, just get in touch.


